Affiliate Disclosure: This post contains affiliate links. If you make a purchase through these links, I may earn a small commission at no extra cost to you.
From Classroom Panic to Garden Peace: Protecting Your Hosta Investment Before Winter
For over three decades, late July and early August didn't bring peaceful summer evenings or relaxed garden strolls. They brought a very specific, cold-sweat wave of panic.
Ask any educator, and they’ll tell you the exact same thing: all teachers spend August panicking. It’s the quiet, heavy realization that you are standing at the starting line of a ten-month marathon. And once that gun goes off, there is no stopping. It’s long weeks, late nights grading and prepping, endless emotional energy, and a pace that doesn't quit until June.
For me, it always hit around July 25th. You’d walk into Target or Walmart looking for patio cushions or sunblock, and BAM—staring you right in the face were massive towers of Elmer’s glue, composition notebooks, and pastel highlighters. When you carry the weight of an entire school’s educational growth on your shoulders, that premature display felt like a slap in the face.
As a literacy leader, August meant lost sleep and an overwhelming mountain of responsibility: writing the comprehensive educational plan, driving reading growth across every classroom, supporting teachers, monitoring progress, and holding every moving piece together.
Add living on a heavily wooded lot to the mix, and August was also the visual warning before the storm. A few trees in a yard are charming; thousands of trees mean weeks of back-breaking work clearing a dense, heavy blanket of leaves off the lawn, gutters, and garden beds before winter sets in.
Today, that intense, detail-oriented August energy hasn't vanished—it’s just found a much happier home. The same devotion I used to pour into prepping a school for a successful year now goes right into our home, nursery, and garden beds.
And if you’re a serious hosta collector who has poured time, love, and thousands of dollars into your shade garden, late summer is your kickoff time, too.
Why Late-Summer Prep Matters (Especially for Your Giants)
When you’ve invested 5 to 7 years watching a giant cultivar like Empress Wu or Gigantosaurus reach its full, majestic maturity—with leaves over a foot wide and clumps stretching six feet across—the stakes are high. You’ve put in years of watering, soil amending, and waiting. Losing a specimen plant like that to winter root rot, vole damage, or frost-heaving would be absolute heartbreak. Starting over with a tiny bare-root division isn't just about the financial loss; it’s losing years of growth you can’t buy back.
While the weather is still warm, hostas are quietly shifting their energy from top growth down into root development and crown storage. Here is how to channel your prep energy to give your collection the best possible chance of thriving come spring.
Mastering the Fall Timeline: The General Rules
Gardeners across the country often ask us, "When should I stop planting?" or "When should I put the fertilizer away?" Because first frost dates vary wildly depending on where you live, we follow three general rules based on timing relative to your local average first hard freeze:
- Stop High-Nitrogen Feeding (6 to 8 Weeks Before First Frost): You want top foliage to harden off naturally. Nitrogen promotes soft, leafy green growth that will get fried by early frosts and turn into a mushy vector for rot right over the crown.
- Final Planting Window (4 to 6 Weeks Before First Hard Freeze): Root growth continues as long as soil temperatures stay above 40°F. Hostas need roughly a month in warm-to-cooling soil to anchor down before the ground freezes solid.
- The Late-Fall Cutback (After 1 to 2 Hard Freezes): Never cut foliage back early while it's still green or yellow. Waiting for a hard freeze ensures the plant has completely finished pumping vital energy down into root storage for next spring.
How That Looks in Zone 5b (Our Farm Benchmark)
Here at our farm in southeastern Wisconsin (Zone 5b), I still plant and transplant right up to October 1st. Putting hostas in the ground by October 1st gives their root systems a solid 4 to 6 weeks to anchor before our ground freezes solid in November.
If you live in a different zone, use this quick reference guide to adapt our schedule to your local climate:
Fall Hosta Maintenance Schedule by USDA Zone
|
USDA Zone |
Cutoff: High-Nitrogen Fertilizer |
Cutoff: New Planting & Transplanting |
Target Window: Fall Cutback (Post-Hard Freeze) |
|---|---|---|---|
|
Zone 3 – 4 (Northern MN, ND, Upper ME) |
July 15 – August 1 |
September 1 – September 15 |
Late September – Mid October |
|
Zone 5a – 5b (WI, IL, IA, MI, NY) |
August 1 – August 15 |
September 15 – October 1 |
Late October – Early November |
|
Zone 6a – 6b (OH, PA, MO, Southern IN) |
August 15 – September 1 |
October 1 – October 15 |
Mid November – Late November |
|
Zone 7a – 7b (VA, NC, TN, Pacific NW) |
September 1 – September 15 |
October 15 – November 1 |
Late November – Early December |
|
Zone 8a – 8b (GA, SC, Deep South) |
September 15 – October 1 |
November 1 – November 15 |
December |
The Ultimate Late-Summer Checklist for Hosta Collectors
1. Label Your Crown Locations Before the Foliage Disappears
Once a hard frost turns your hosta foliage to mush and you clean it up, your prized cultivars effectively vanish underground until spring. If you plan to lay down winter mulch, clear heavy leaf drop, or do any late-season planting, it is frighteningly easy to step directly on a sleeping crown or slice through a rare rootball with a shovel.
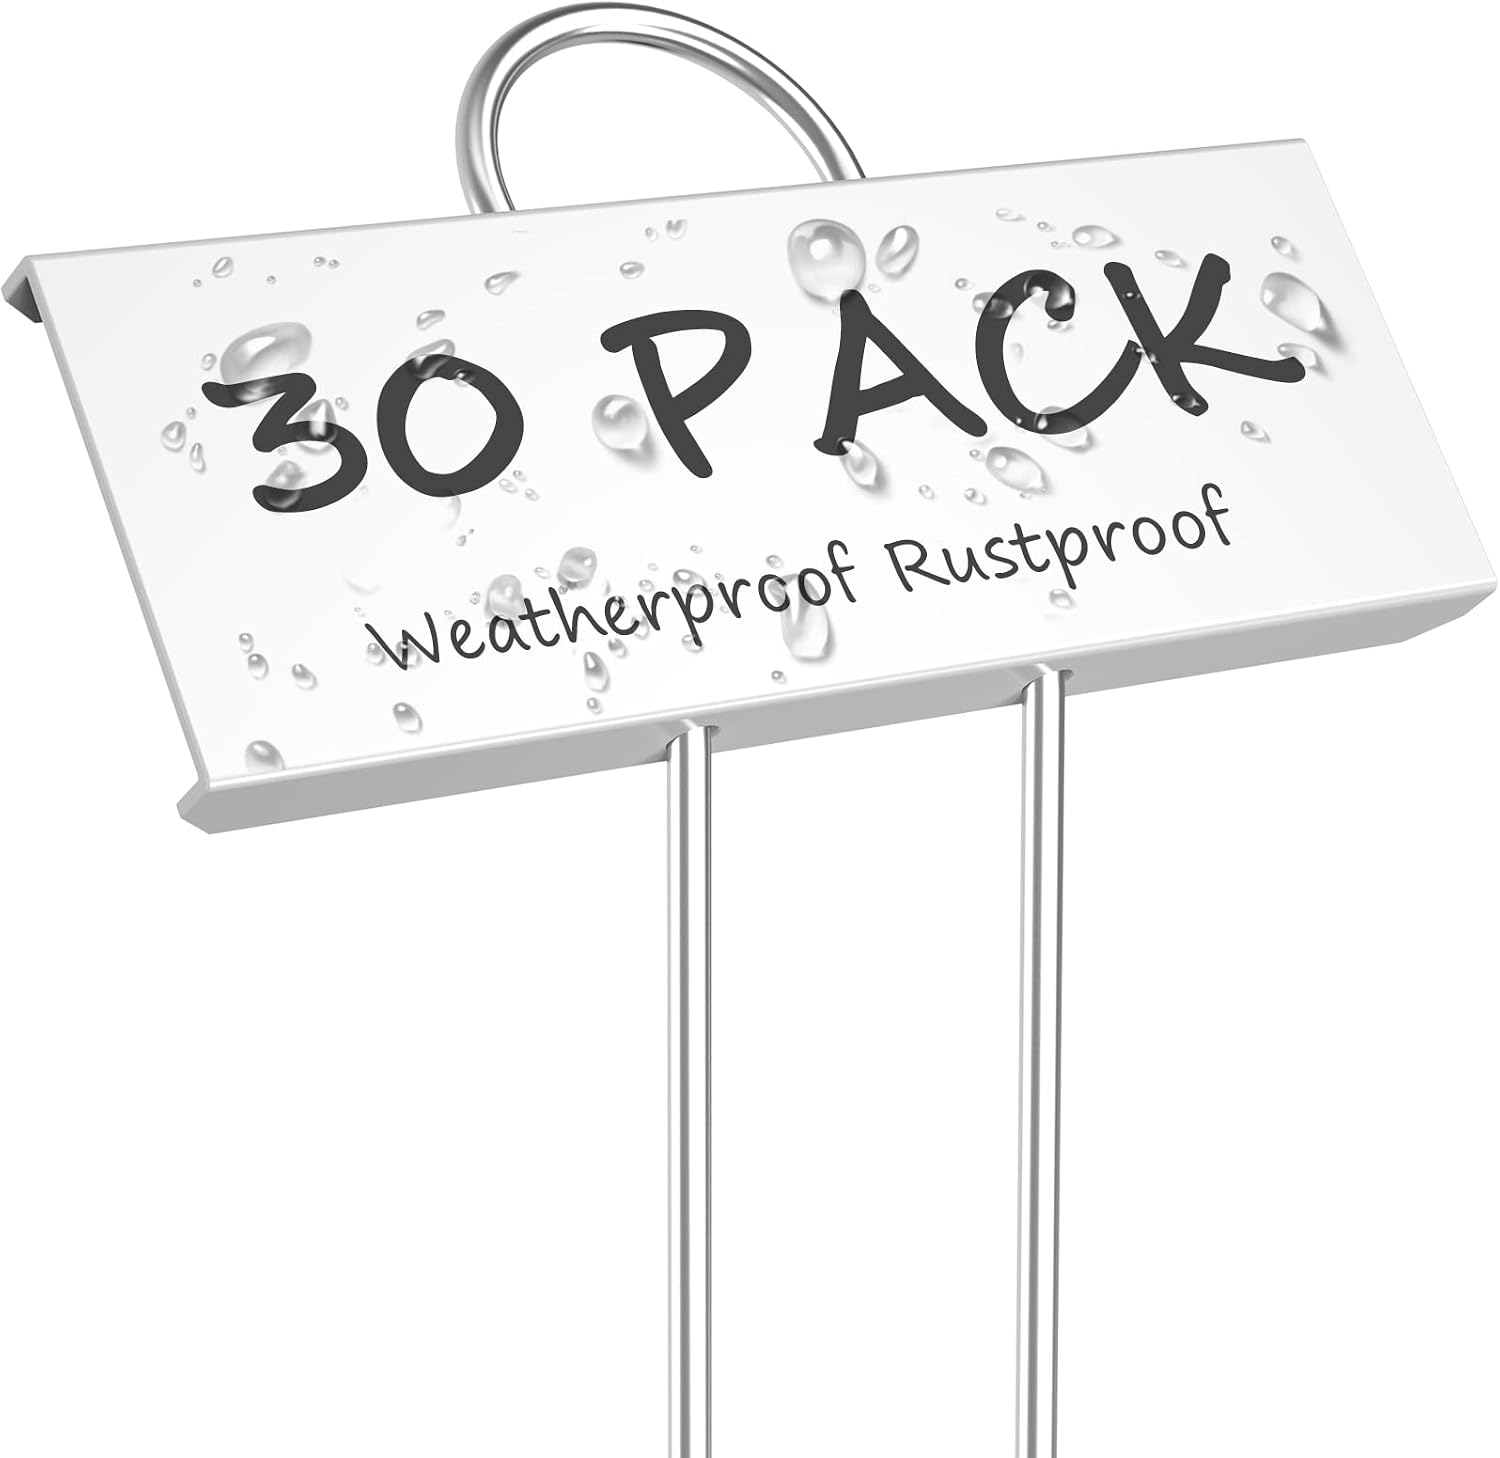
- Action: Mark every high-value cultivar now while the leaves are still full and identifiable. Skip the cheap plastic tags that get brittle and snap in freezing weather.
- Pro Tip: We use heavy-duty, rust-proof metal plant labels pressed deep into the soil right next to the crown. They survive snow, ice, and leaf rakes, ensuring you know exactly where your giants are sleeping.
2. Adjust Your Feeding and Keep Watering Deeply
Just like you wouldn't give students a sugary drink right before quiet time, don't feed your hostas nitrogen in late summer. However, stopping fertilizer does not mean you stop watering.
- The Fertilizer Rule: Cut off high-nitrogen fertilizers 6 to 8 weeks before your average first frost (mid-August in Zone 5b).
- The Watering Rule: Keep watering deeply right up until the ground freezes solid. One of the biggest silent killers of hostas over winter is dry soil desiccation—especially under dense tree canopies where thirsty tree roots steal every drop of moisture.
3. Clear Heavy Leaf Blankets (Without Breaking Your Back)
Those thousands of falling tree leaves might look cozy, but a thick, matted layer of wet leaves sitting directly over hosta crowns creates a trap for moisture, fungal rot, and overwintering slug eggs.
- Action: Clear heavy tree leaves out of hosta crowns before winter sets in.
- Pro Tip: Instead of endlessly raking delicate garden beds and risking damage to plant crowns, we haul heavy leaf debris using a heavy-duty canvas garden tarp. You can blow or rake leaves directly onto the flat canvas and drag hundreds of pounds of wet leaves out of the shade beds in a fraction of the time.
The Great Cutback Debate: Fall vs. Spring (and Hosta Virus X)
When it comes to cleaning up the actual hosta foliage, hosta gardeners generally fall into two distinct camps. The debate often centers around garden hygiene versus disease prevention—specifically protecting your collection from Hosta Virus X (HVX), a systemic virus spread through sap that ruins plants by causing ink-bleed patterns, mottled tissue, and distorted leaves.
Let’s look at the pros and cons of both schools of thought:
School of Thought #1: The Spring Cleanup (Wait for it to dry)
- The Concept: Leave dead leaves on the plant all winter long. In spring, once foliage has completely dried into paper-thin, brittle debris, gently pull or rake it away by hand.
- Pros (Zero Tool Transmission Risk): HVX is spread strictly through sap-to-sap contact. By hand-pulling dry, dead papery leaves in spring without using pruners, you completely eliminate the risk of transferring infected sap via tool blades.
- Cons (Pest & Disease Hotel): Decaying foliage left on the soil surface all winter creates the ultimate cozy shelter for slugs to lay thousands of eggs. It also harbors foliar nematodes and fungal spores right over the crown, and gives voles a hidden runway system under the snow.
School of Thought #2: The Late-Fall Cleanup (Cut after hard freeze)
- The Concept: Wait until a severe hard freeze kills the top growth entirely, turning leaves translucent or brown. Then, cut foliage back to a few inches above ground level and haul it away.
- Pros (Sanitizes the Garden): Removes overwintering slug eggs, clears out foliar nematodes, strips away vole cover, and leaves beds clean and ready for an effortless spring emergence.
- Cons (Sap Transmission Hazard): If you use hand pruners to slice through hostas without sterilizing between plants, you can easily transmit HVX across your entire collection in an afternoon.
Our Preferred Method at the Farm
At Little Village Hosta Farm, we strongly prefer the Late-Fall Cleanup Method, but with a strict protocol to keep plants 100% safe from disease:
- Wait for a Hard Freeze: Never cut back green or partially yellowing leaves. Wait until a severe freeze has completely collapsed the foliage.
- Snap or Tear by Hand (No Tools Needed!): Once hosta foliage has been completely frozen, the leaf stems (petioles) get soft and break easily. You can grab a fistful of dead foliage near the base and give a quick horizontal tug—it will snap off cleanly right at ground level without using pruners at all!
- If You Must Use Pruners, Sterilize Between EVERY Plant: If you have thick-stemmed giant cultivars that require cutting, use 70%+ isopropyl alcohol to thoroughly spray and wipe down your blades between every single hosta plant.
- Dispose, Never Compost: Always bag and trash hosta debris. Never toss it into your home compost pile where diseases or pest eggs might survive.
4. Build a Vole Defense Fortress
If you own high-value hostas, winter voles are your worst nightmare. Under a quiet blanket of snow, these tiny rodents tunnel through loose soil and turn an expensive hosta crown into a winter snack bar.
- Action: Protect your crown perimeter. Scratch coarse gravel or sharp crushed granite (like chicken grit) into the top few inches of soil around the plant base—voles hate digging through sharp aggregate.
- Pro Tip: For ultra-prized cultivars, create an underground root cage using 1/2-inch galvanized hardware cloth mesh around the root ball during planting or late-fall bed maintenance. It lets roots grow freely while keeping chewing pests completely out.

5. Check Drainage to Prevent Spring Crown Rot
Hostas are remarkably cold-hardy (thriving down to Zone 3), but they hate sitting in stagnant, icy water during early spring thaws.
- Action: Walk your beds now to identify low spots where water pools. If necessary, gently lift the bed elevation around giant specimens and top with a 2-inch layer of clean, shredded bark mulch (keeping it an inch away from the stems) after the ground freezes to prevent frost-heaving.
Putting the Panic to Bed
Truth be told, if I walk into a store in late July today, that spike of back-to-school panic still hits me. After thirty years, it’s conditioned deep into my bones. That phantom pressure of an impending marathon doesn't just disappear overnight.
But here is the beauty of this season of life: just like I tuck my hostas in for the winter, I get to put that panic to bed, too.
I can take a deep breath, look at the school displays, and remind myself that the marathon isn't mine to run anymore. I can channel that restless, detail-oriented energy straight into the dirt—insulating the roots, clearing the beds, and protecting the garden we’ve worked so hard to build.
Taking the time in late summer to systematically prepare your beds ensures that when spring arrives, every dollar, every hour, and every bit of love you’ve poured into your garden pays off in a breathtaking sea of green, blue, and gold.




0 Comments